Corset Inspired Shirt (Vogue 7639)
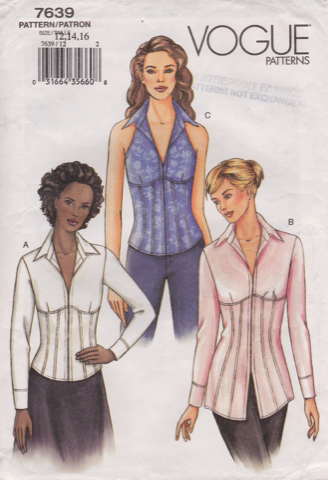
Step One: Selecting the Pattern
This is an old but much-loved pattern. I bought it when it was first released - back in 2003. My dear friend Charlene Waller spent many hours working with me to fit it and then I made several versions of it. When I was picking the patterns that I wanted in my new, and improved, wardrobe I really wanted to rework this one again. I just love the design! And, I decided that - given how much work is involved in fitting something properly - I only wanted to work with patterns that I love.
Stage Two: Adjusting the Pattern
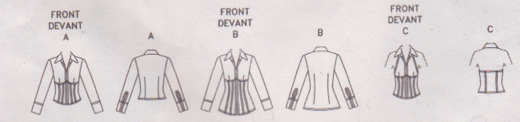
I have adjusted View C of this pattern using the techniques detailed in Barbara Deckert's online Plus Size Pattern Fitting and Design class.
This pattern presented two challenges relating to the bust, or cup size, adjustment (FBA).
First, the fact that there was a seam line so close to the bust point meant that the adjustment didn't add the full amount of fabric required to go over the bust. So … I had to ensure that I added that to the muslin so it could be determined during the fitting.
Second, the bus, or cup size, adjustment (FBA) added a side seam dart that didn't really fit with the design. I needed to figure out how to remove the two existing darts (the original under bust dart plus the side seam dart) and replace them with two new darts (corresponding to the seam lines under the bust). I figured out how to do this using a temporary 'placeholder dart. I summarised how I did this in the Rotating Multiple Darts using Placeholder Tutorial.
Another challenge related to trying to retain the proportions of the three pattern pieces under the bust. Even though I was significantly upsizing the pattern I wanted to ensure the original design lines were retained. I used percentages and constantly checked that the percentages being used in the original pattern were reflected in the final pattern pieces.
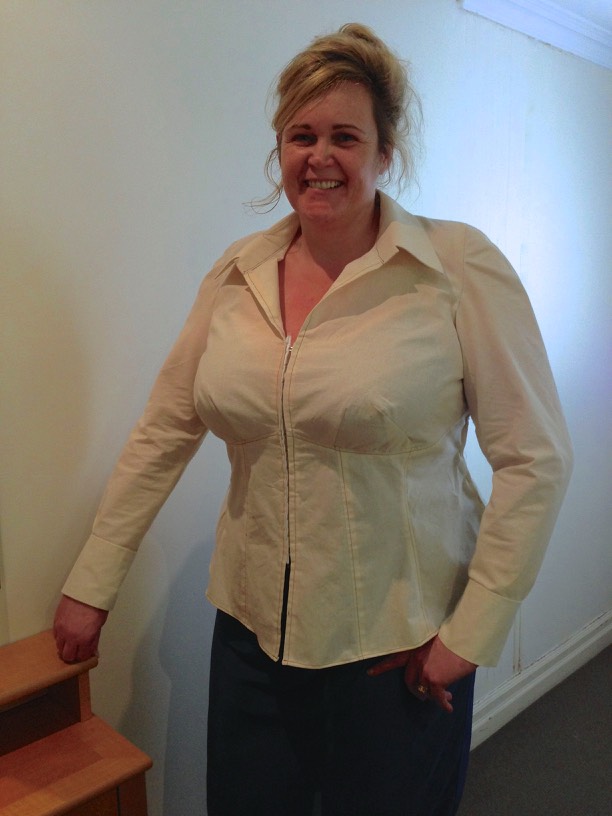
Stage Three: Fitting the Muslin
I completed several rounds of fitting the muslin using the techniques detailed in Lynda Maynard's online Sew the Perfect Fit class.
Why so many rounds? I needed so many rounds of muslin because I was making such extensive changes to the original pattern in grading it up from a size 16. In effect, I was having to redraft the main front piece referencing some pictures of the completed garment that had been posted on to the Pattern Review site. To facilitate that, I had left a good amount of fabric available in the area under the bust to pin on the under bust 'curve' until we got that right.
There were also more muslin rounds than there normally would be because this is the bodice that I used to perfect my armscye and sleeve. If you want to find out more about how I did that see the Sorting Sleeves Tutorial.
Stage Four: Selecting the Fabric
This pattern recommends using Stretch Charmeuse, Stretch Cotton Shirting and Two-Way Stretch Knits.
Stage Five: Constructing the Garment
When I construct this shirt I will detail the steps taken.
I plan to follow the steps outlined in Craftsy's The Classic Tailored Shirt class (Pam Howard) - with any additional steps - necessitated by this pattern.
I plan to follow the steps outlined in Craftsy's The Classic Tailored Shirt class (Pam Howard) - with any additional steps - necessitated by this pattern.